What in the terrarium?!? This was my exact reaction when I was chatting to a friend of mine who mentioned she loves her sweet terrariums. The look of bewilderment on my face immediately prompted her to elaborate further and I’m so glad she did because after investigating I was able to build one all solo and now I love my little terrarium.
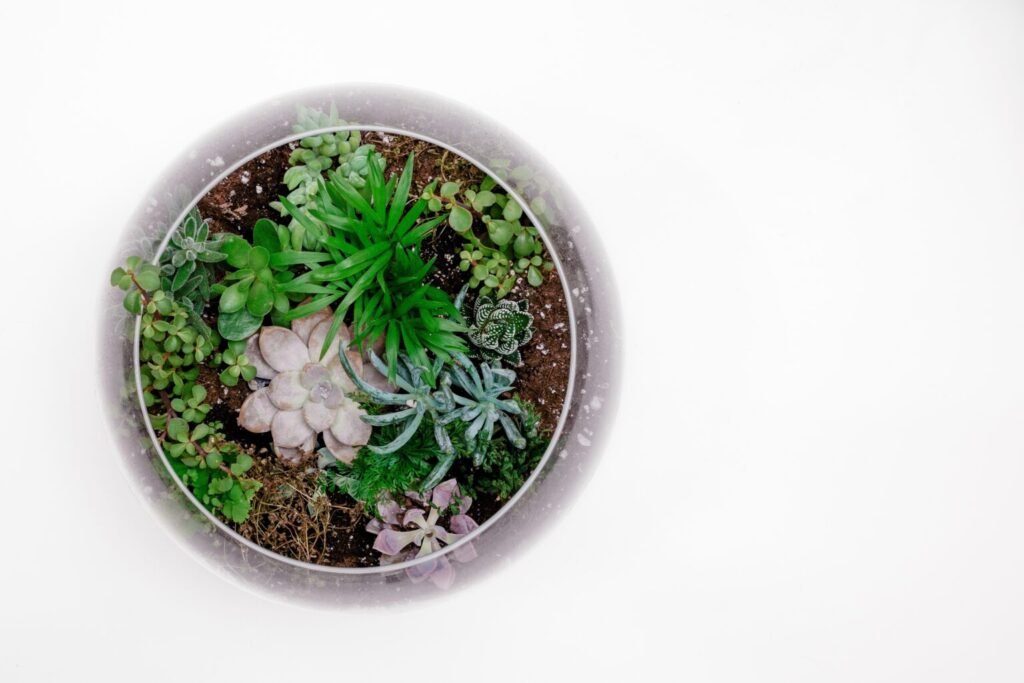
Firstly I’ll explain what a terrarium actually is. The word is from latin origin where ‘terra’ means earth and ‘arium’ means a place. So a place for the earth and plants to reside. Picture a miniature garden housed inside a small container like a glass bowel or jar. Something where the smurfs could happily live.
Jokes aside, beside being a pretty display they’re pretty self-sustaining, the plants technically water themselves through transpiration and condensation. Closed terrariums are full little ecosystems of their own. Warmth from the sun causes moisture to evaporate from the plants and soil, which then condenses on the cooler inside surfaces of the glass container and drips back into the plant and the circular process begins again.
Terrariums are perfect for anyone who lives in the city and is pressed for space but loves to be surrounded by green life that is low maintenance. If you are looking for a new creative outlet then building your own Terrarium is a great project to tackle. Below are simple steps to help get you started on your DYI Terrarium project.

1. Choosing your container
It goes without saying that the container will obviously need to be transparent so we are pretty much limited to glass and plastic. Im am definitely pro the glass option not only for environmental reasons but because plastic tends to offer less transparency than glass which is also prettier from an aesthetic point of view. You will also need to decide if you want an open or closed terrarium. The type of plants you opt to use will help determine this. Sun-loving plants such as succulents and cacti do well in an open container. Plants such as creeping fig and English ivy which thrive in high humidity do well in closed containers.
When considering the size of the container it really depends on where you want to place it in your home. Don’t go too small on the container as you want your plants to be happy in their own little world. As a rule of thumb a third of the container should be free and available for your plants to happily thrive. The larger the container the more creative you can be with more options of green life given the space available. Select a container with a broad opening to give you more space to manoeuvre when putting the terrarium all together, You also want to choose a container with a wide base to allow everything to sit nice and even. Here are some great containers that you can use for your DIY Terrarium project.
2. Lay the Foundation
A terrarium base is generally made up of four layers. Starting with the gravel then moss, soil and decorative layer. The first layer is basically the drainage system. The last thing you want is for your roots to sit in water and rot, a good drainage system is imperative. Small stones and pebbles or aquarium gravel can be used here. Try not to select anything that is too heavy to avoid cracking the glass container. Pea gravel is another commonly used material to create a good supporting bottom layer. Lava rock pebbles are another great option.
You will want to separate your drainage layer from the top layer or soil so that it doesn’t get clogged up. Moss is a good option here but the layer needs to be pretty thick. If you don’t the look it creates another great alternative is to use a mesh layer which does a great job and is also extremely discrete.
3. Soil
The potting soil you choose will largely depend on the plants you select. Peat moss or houseplant soil generally works well with most plants. Miracle-Gro is a popular choice.
If you are using succulents then consider using a soil that offers good aeration and drainage. You can buy pre-mixed soil for succulents such as this one which will take the guesswork out of you having to figure out the perfect balance of minerals for your precious plants.
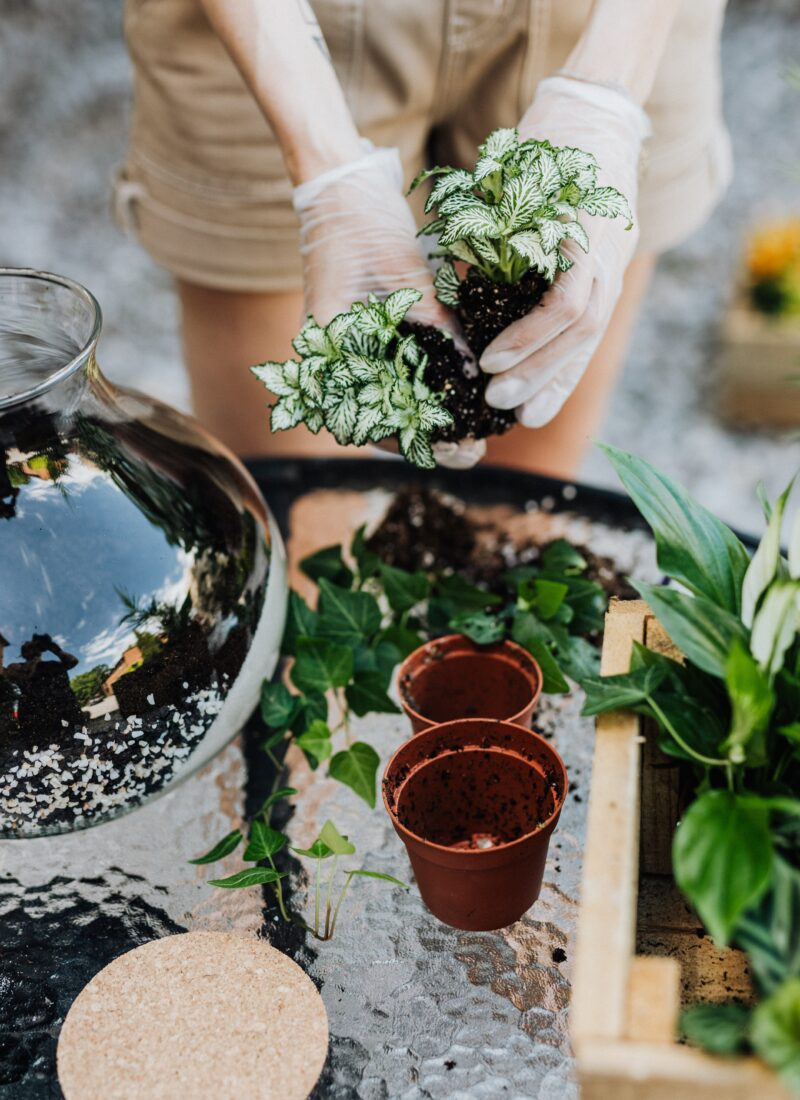
4. Plants
Enter the personality of your Terrarium, the plants. Here you can play around with colour and really think about the feeling you want your terrarium to evoke. You can create a mystical forest or more of an adventure ground.You will want to do a bit of research to ensure that your plant can survive and thrive happily in you terrarium. Below are a few suggestions.
- Creeping fig
- Succulents
- Cacti
- Tillandsia (best for open air terrariums)
- Button Ferns (Pallaea Rotundifolia)
- Jade Plant (Crassula Ovata) – fun fact, considered a good luck plant.
- Peperomia (Peperomia Pellucida)
- Moss
Besides the plants you can place some tiny figures with rocks and create a mini movie scene. Terrariums can be a great project to do alongside with kids. The creative possibilities are endless. If you want to explore more plant life then read my article on apartment gardening tips here.
Creating a terrarium is a delightful and rewarding project that brings a touch of nature indoors. Whether you’re crafting a mini terrarium or a forest in a jar, these DIY terrarium ideas offer endless possibilities for creativity and personalization. Enjoy the process and watch your little ecosystem thrive!
Care Guide
Caring for your terrarium is simple and rewarding. Here are some tips:
- Light: Place your terrarium in indirect sunlight. Too much direct light can overheat and damage the plants.
- Water: Water sparingly. Closed terrariums need less water than open ones. Look for condensation on the glass as a sign of proper humidity.
- Pruning: Trim plants regularly to prevent overcrowding.
- Cleanliness: Remove any dead leaves or debris to prevent mold growth.
- Ventilation: Occasionally open closed terrariums to allow fresh air in.
Enjoy watching your mini terrarium thrive! 🌿